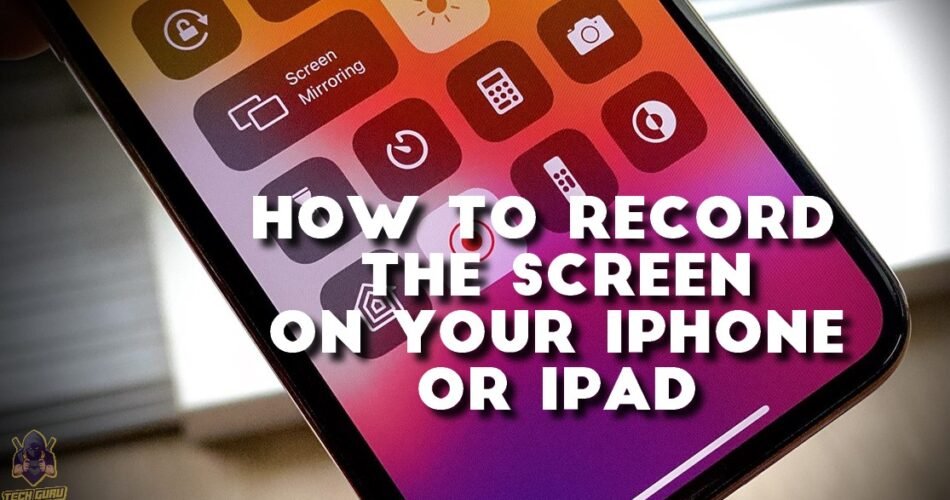
If you want to record what’s on the screen on your iPhone or iPad and send it to someone or just save it for yourself, there are some steps you need to follow.
First, you’ll have to add the option “Screen Recording” control to “Control Center”. And here is how to do that:
- in “Settings, scroll down and tap “Control Center”;

- scroll down and tap the green Add icon next to “Screen Recording”;

If you scroll up on your iPhone or iPod, you will see that the icon “Screen Recording” has been added to the included controls along with your other controls.

In the following, we will try to show you how to record the screen on your iPhone or iPad.
To begin with, open the “Control Center”. Now, if you want to record your voice over the screen recording, you can turn on the microphone by touching and holding the “Screen Recording” button and then tapping the Microphone button.

Another option to start recording is by tapping the “Screen Recording” button and then you’ll have to wait for the three-second countdown, and when the countdown ends, screen recording begins.
The next thing you have to do is close the “Control Center” and then continue where you stopped. Now everything on your iPhone or iPad screen is being recorded. You can record some tutorial (how to do something) and send it to your friend, or just record something to show them something on your screen if you don’t have the option to send it to them.
When you are ready to stop recording just return to “Control Center” on your iPhone or iPad and tap the same “Screen Recording” button again.
Your screen recording will be automatically saved to Photos. There you have the option to “Edit”  the recording, maybe cut the beginning and the ending of it, and just send it forward.
You can share it through the button “Share” which is offered on your bottom-left corner on the screen of your iPhone or iPad.
And that’s it, easy like Sunday morning. For more tips like this, check out our other posts, we are sure you’ll find something useful.

